Inverted Row
Activation
Muscles worked
Movement
Horizontal Pull
Beginner · Bodyweight
Primary muscles
Movement pattern
Equipment category
How to perform
- 1
Set up
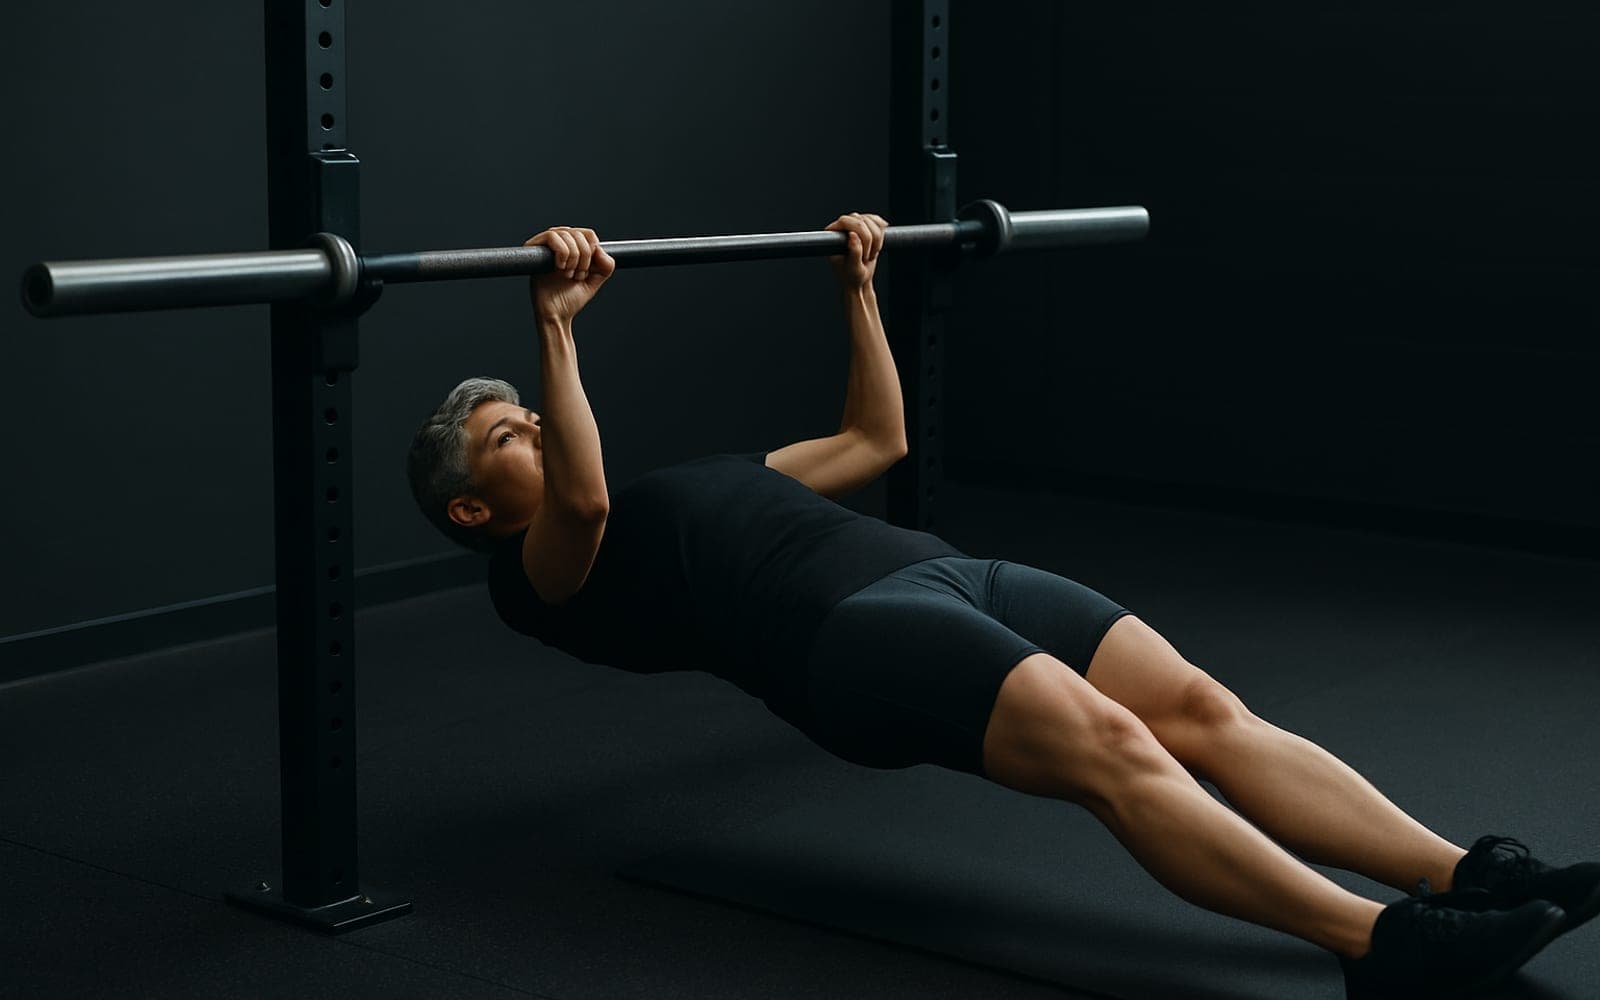
Set a bar at hip height; hang underneath, body straight.
- 2
Execute the movement
Pull the chest to the bar, squeeze, lower with control.
Common mistakes
- Sagging hips
Make it harder
Make it easier
Accessibility
Substitutions
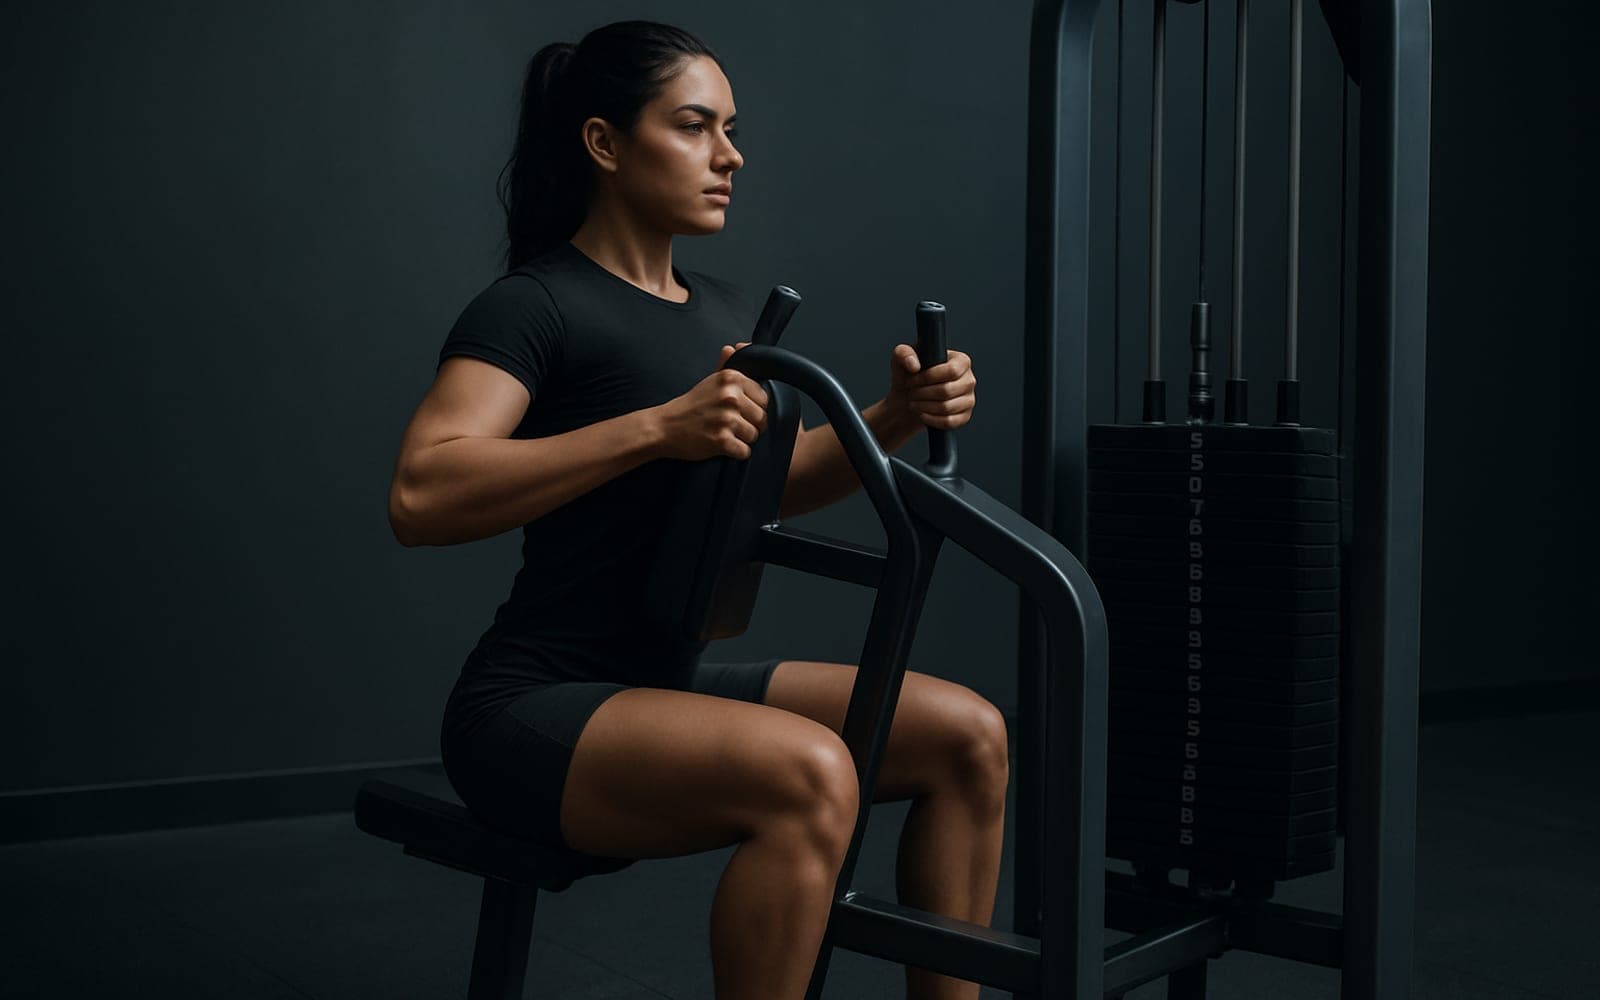
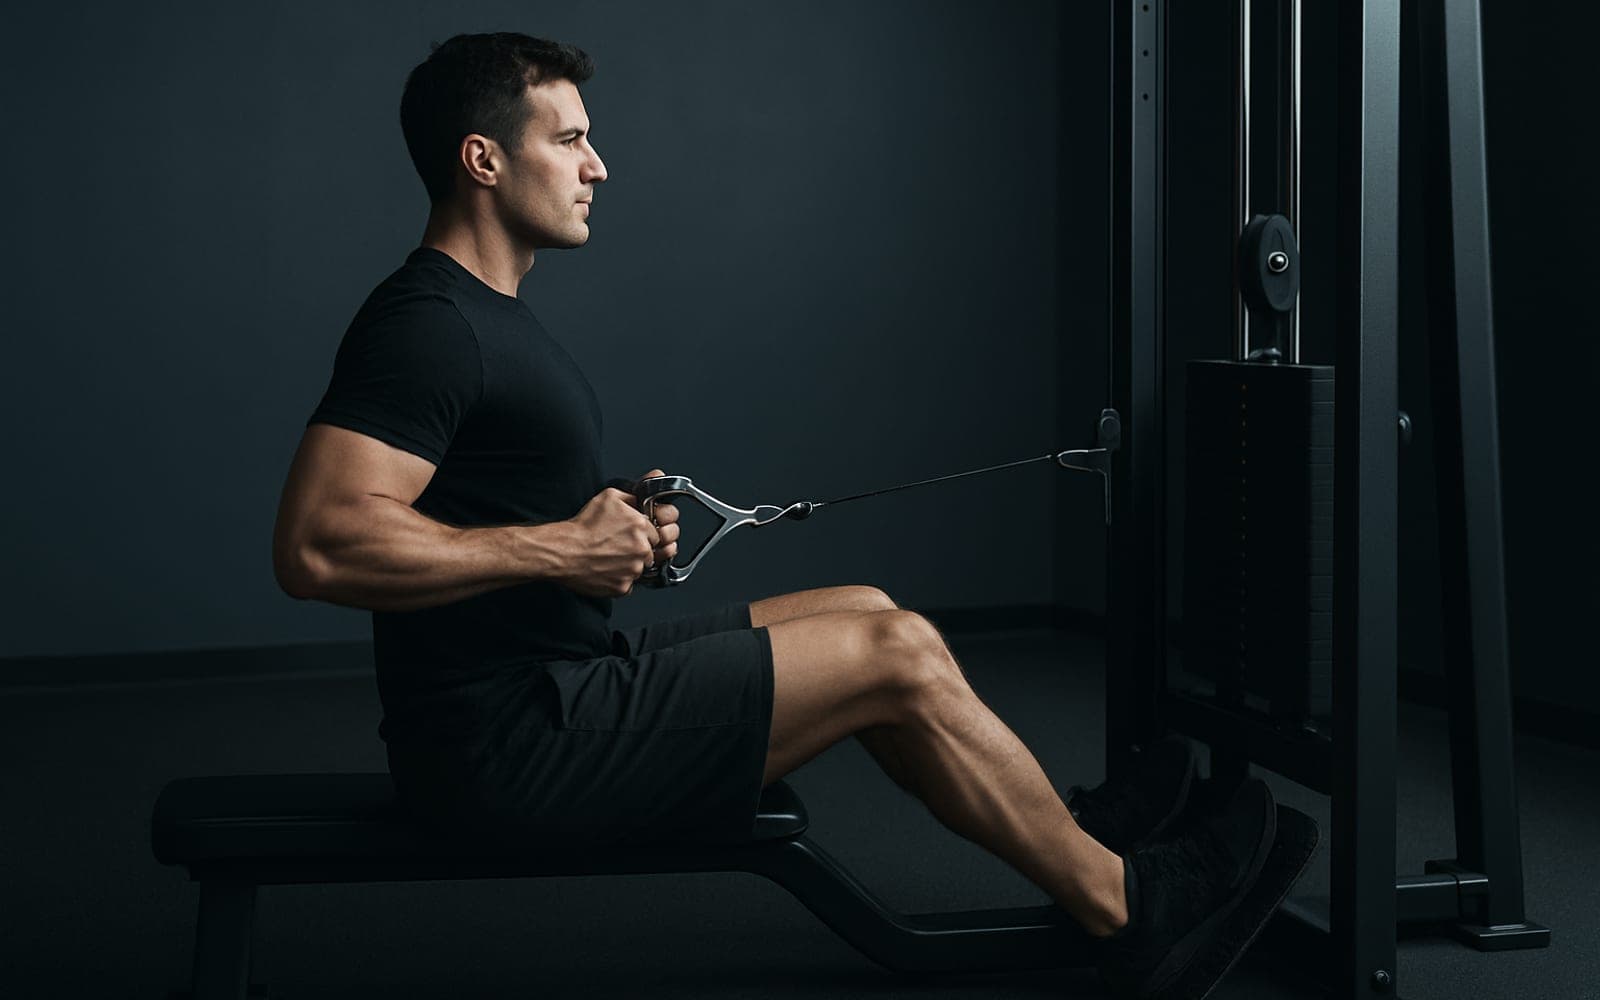
If a machine is busy or unavailable, these train the same pattern a different way.
Your progress over time
What to expect from training this consistently — everyone progresses at their own pace.
- 1
First few sessions
Learn safe setup and body alignment (straight plank line), practice scapular retraction and full range of motion; expect to complete a few controlled reps with focus on technique rather than load.
- 2
Weeks 2–4
Noticeable rise in rep capacity and movement confidence as neuromuscular control improves; can perform more sets with cleaner reps and reduced momentum, and maintain a tighter core throughout.
- 3
Months 2–3
Clear strength and size gains in the mid-back and biceps for most beginners; able to progress to a steeper body angle or elevate feet, increasing the challenge and stimulus for hypertrophy.
- 4
Months 4–6
Able to perform higher-rep work or add external load (weighted vest/plate) or advanced variations, resulting in continued muscle growth and meaningful increases in horizontal pulling strength.
- 5
6+ months
Sustained improvements in posture and scapular control with reliable carryover to other pulling exercises and everyday pulling tasks; relative pulling strength becomes a consistent asset in your training base.
Benefits of the inverted row
Directly targets the mid-back (rhomboids, middle/lower traps) to improve pulling strength and upper-back thickness.
Loads the biceps as a secondary mover, contributing to arm strength and size alongside back development.
Builds horizontal pulling strength useful for everyday tasks like lifting and pulling objects toward the body.
Promotes scapular retraction and shoulder-blade stability, which helps posture and reduces reliance on compensatory shoulder movement.
Requires and trains core bracing and a straight-body plank position, improving trunk stability and transfer of force through the torso.
Very scalable and low-impact, making it an accessible progression for beginners and a joint-friendly alternative to heavy pulling variations.
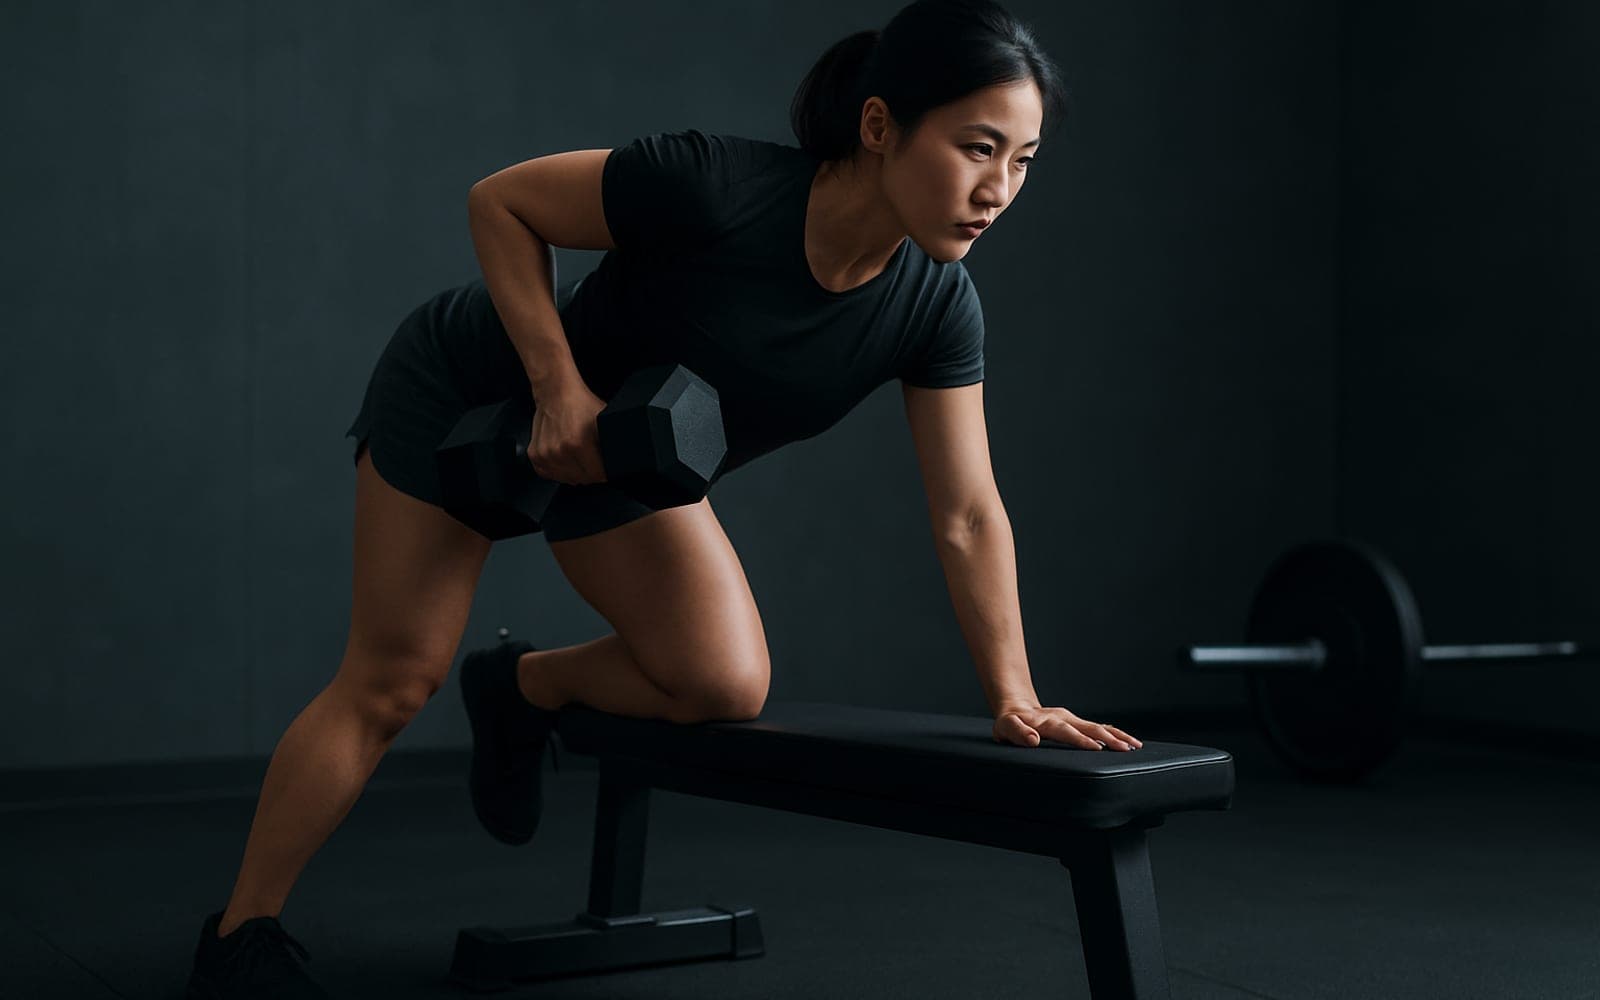
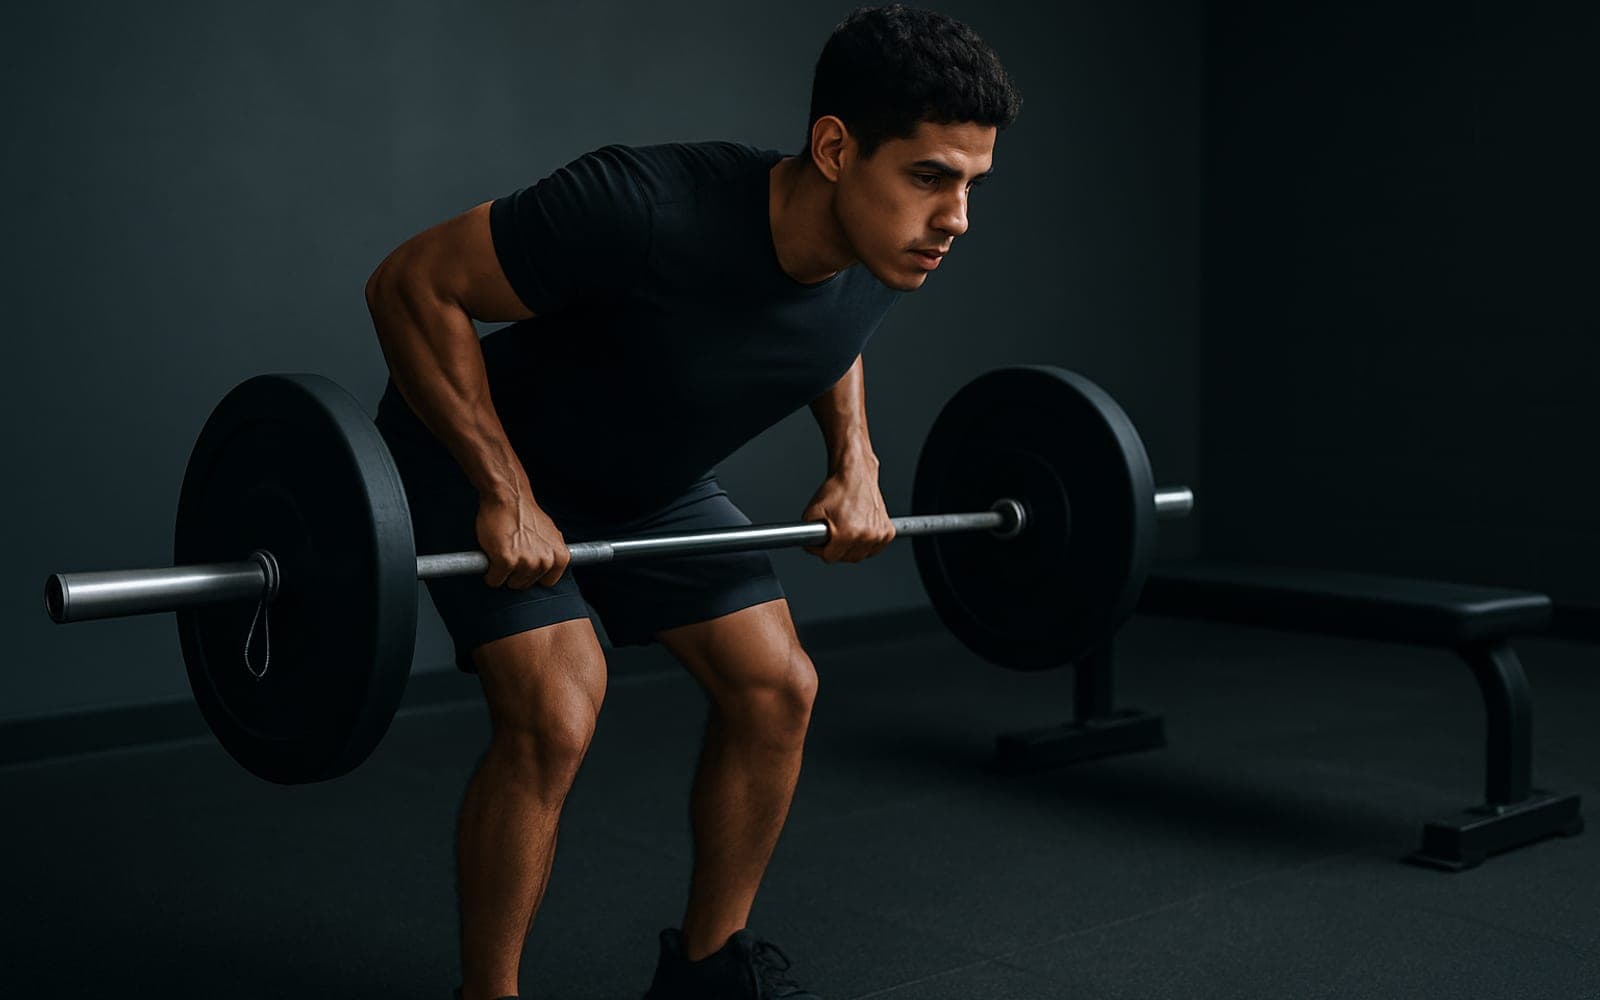
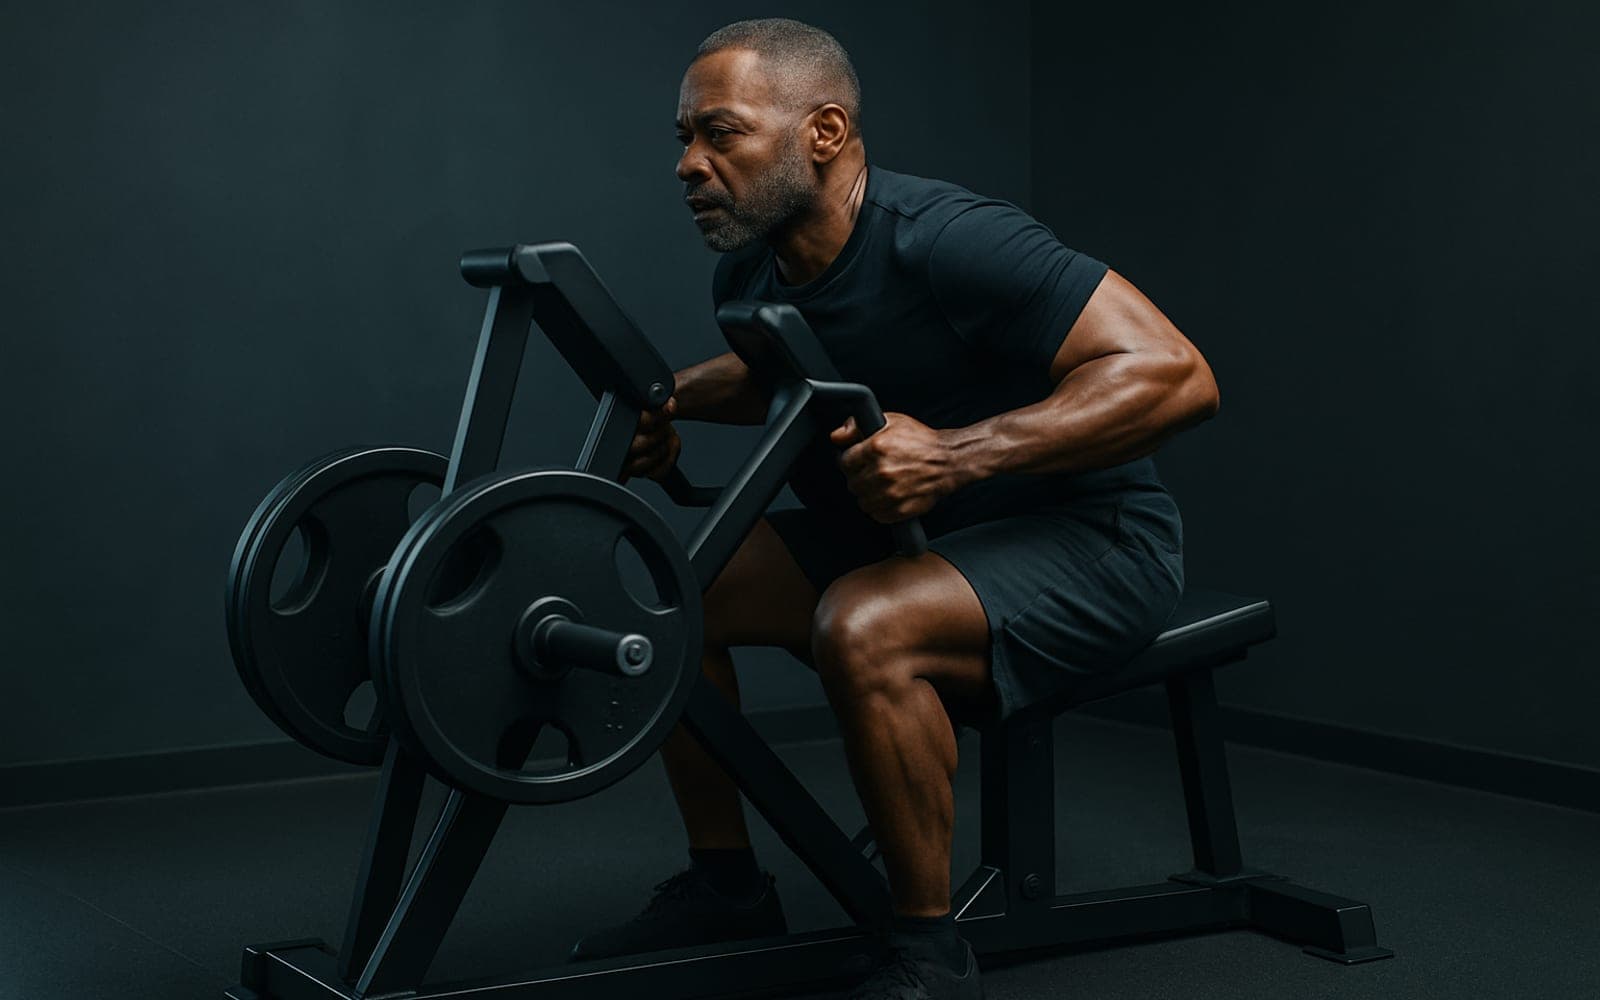
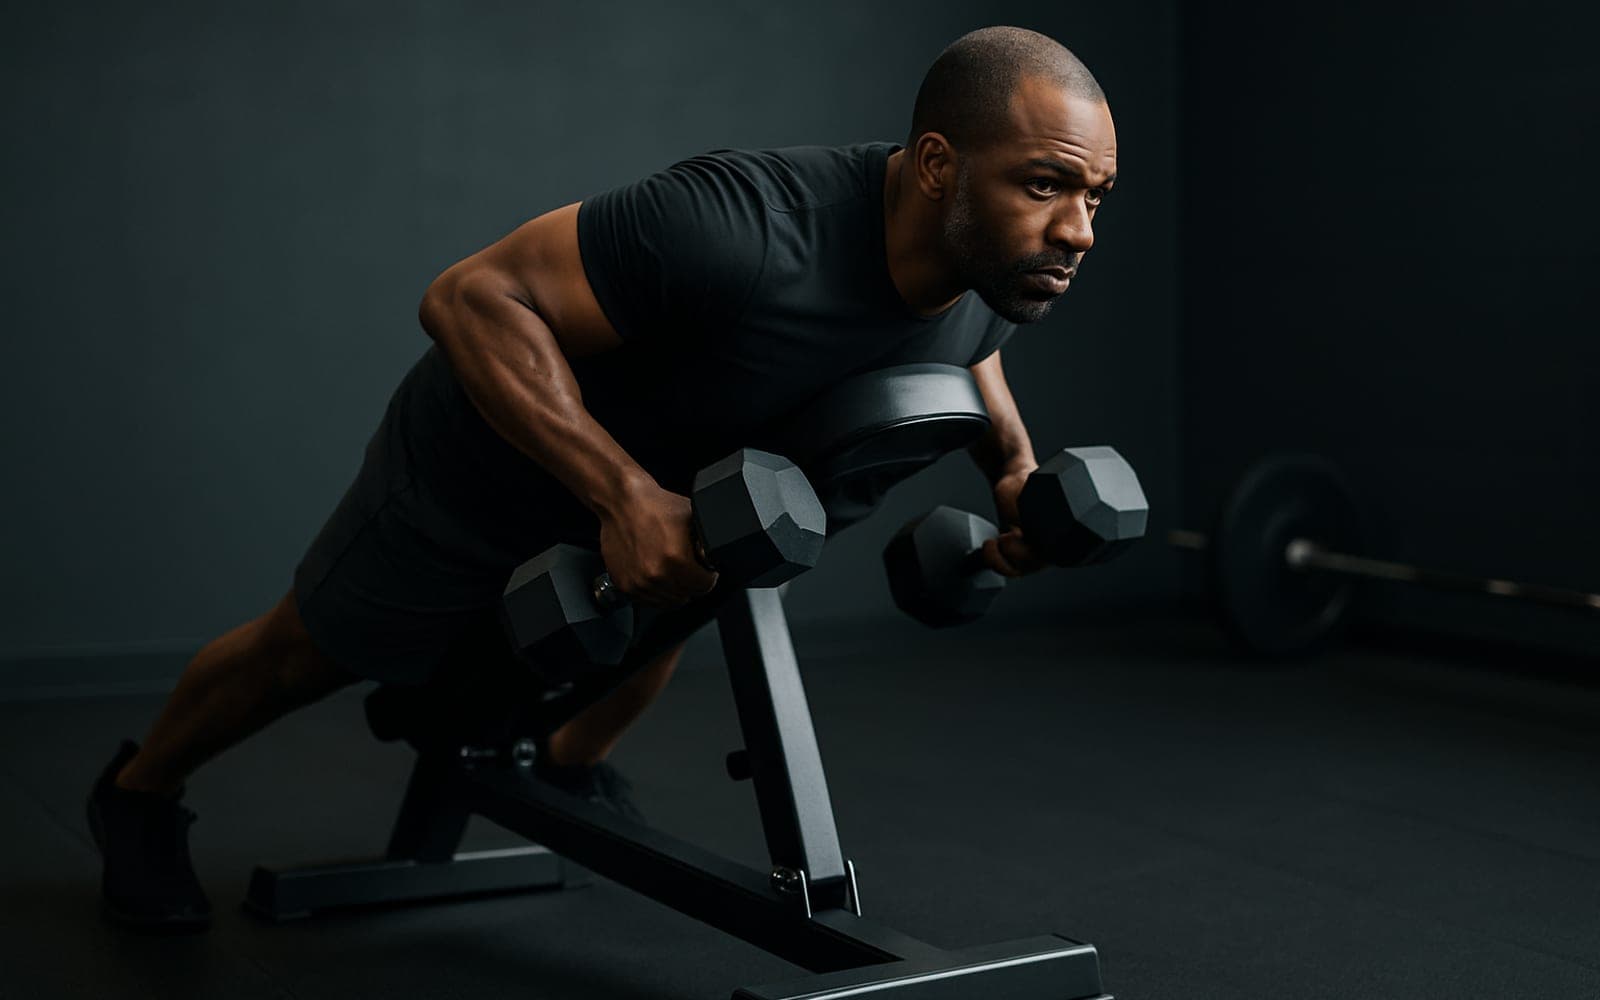
Exercises that pair with this
Same muscles or the same movement pattern — useful for building the rest of the session.
Inverted Row — questions people ask
What muscles does the inverted row work?
The inverted row trains the mid-back as the primary target, with the biceps, core working as support. It is a horizontal pull pattern, so it also trains the coordination that pattern needs.
How many sets and reps of the inverted row should I do?
Three sets of 8–12 reps with about 90 seconds of rest is a reliable default. Increase the weight once the last rep of every set still looks clean.
Is the inverted row good for beginners?
Yes. The inverted row is a beginner-friendly movement. Raise the bar to make it more upright. If it feels like too much, build the pattern on the machine row first.
What can I do instead of the inverted row?
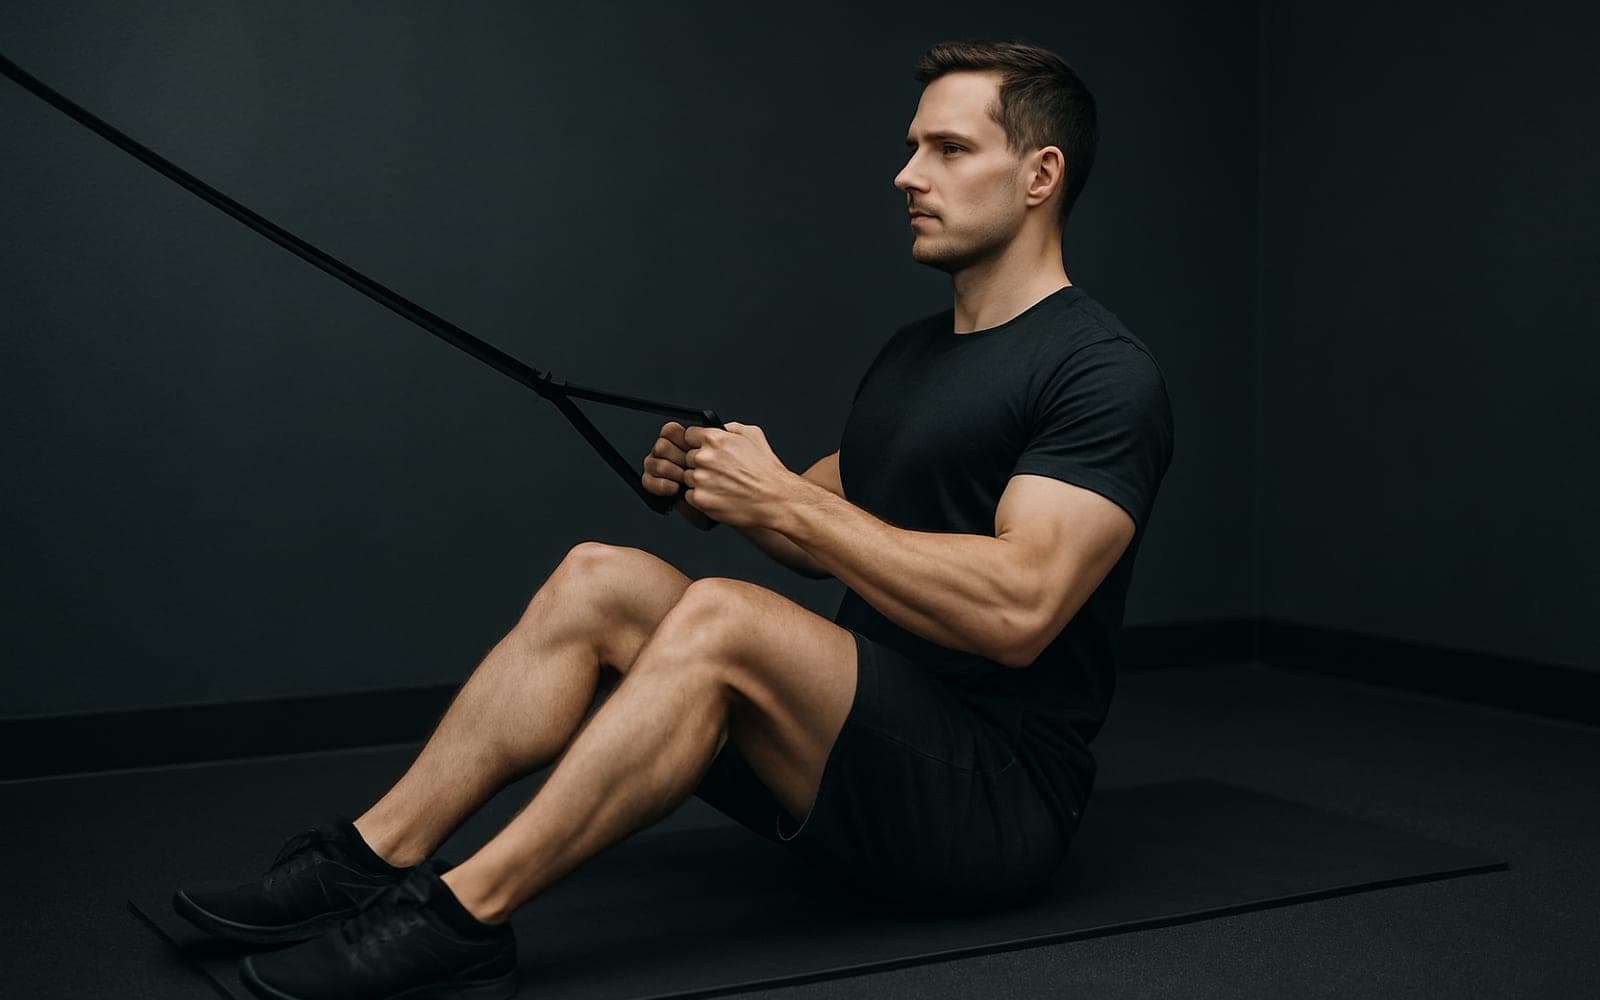
Machine Row, Seated Cable Row all train the same horizontal pull pattern with different equipment, so any of them works when the machine is busy or your gym does not have it.
What are the most common inverted row mistakes?
Sagging hips. Pull the chest to the bar, squeeze, lower with control.